If you want mega volume lashes that wow, here’s what I’ve learned (sometimes the hard way!). Always pick ultra-fine lashes (like 0.05mm—your lids will thank you), and focus on crafting even, fluffy fans with good-quality tweezers. Use speedy glue and switch it out often, keep your humidity in check, and never overload those natural lashes! Clean lashes stay on longer, trust me, and gentle brushing avoids spider-lash drama. Want to ace every step? There’s a ton more you’ll love…
Key Takeaways
- Master symmetrical, handcrafted fan techniques to achieve a flawless, full, and balanced mega volume lash look.
- Choose ultra-fine lashes (0.03–0.07mm) to maximize volume while protecting natural lash health.
- Use quick-drying, low-fume adhesive and refresh glue drops regularly for optimal retention and client comfort.
- Prioritize natural lash health by maintaining proper isolation, weight, and regular client education on aftercare.
- Cleanse lashes daily with a gentle lash shampoo and schedule regular fills to maintain longevity and appearance.
Perfecting the Art of Handcrafted Fans
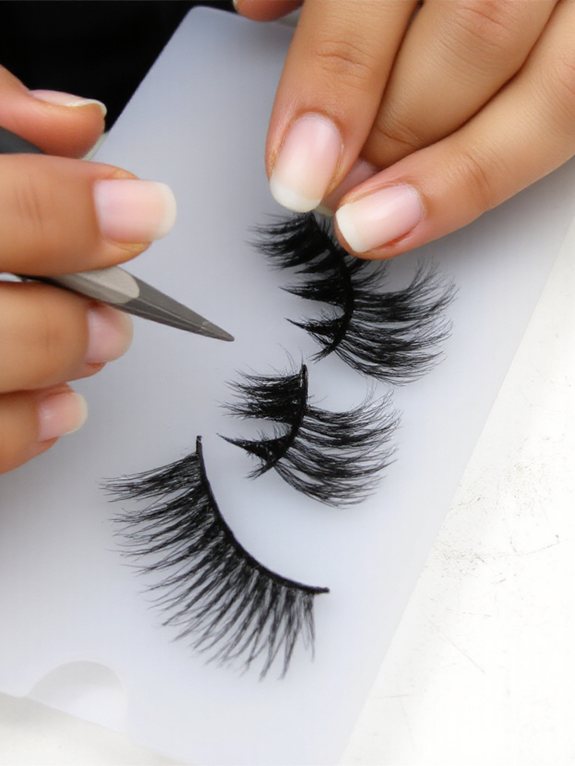
If you’ve ever found yourself staring down a messy pile of lash extensions, wondering how on earth anyone creates those flawless, fluffy mega volume fans, trust me—you’re not alone!
I’ve been there too, wrestling with the Lean and Pick or Pinching methods, feeling like my fingers are all thumbs. The secret lies in mastering fan shaping techniques and being picky about your lash material selection.
Whether you’re rolling lashes between your fingers (and hoping for symmetry!) or using a sticky dot to keep things steady, it’s all about even tension and keeping those lash bases intact.
High-quality tweezers make a world of difference—don’t cheap out!
And hey, don’t beat yourself up if your initial few fans look more like porcupines than perfection. Practice truly pays off!
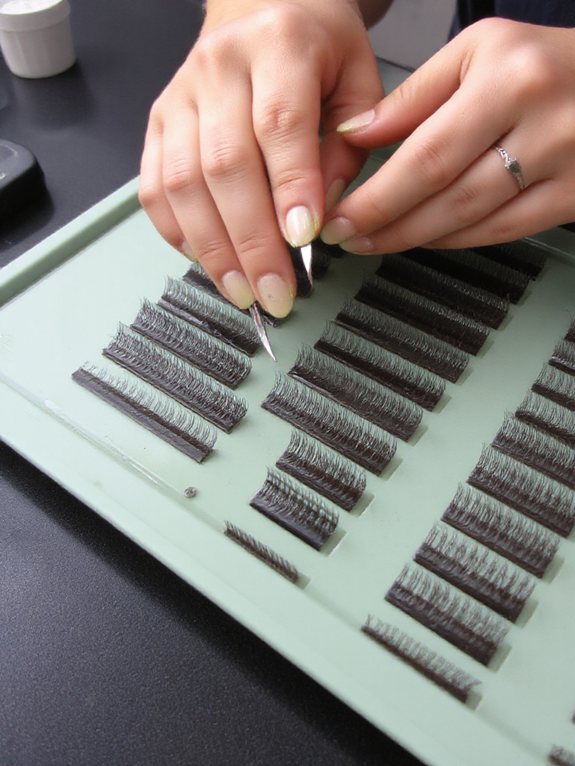
Choosing the Right Lash Thickness and Length
Once you’ve ultimately wrestled those tiny lash fans into something resembling fluffy perfection (trust me, I’ve had my share of “spiky cactus” attempts), it’s time to talk about what those fans are actually made of—yep, thickness and length matter more than you might think!
When choosing for mega volume, thickness considerations are huge. Ultra-fine lashes—think 0.03mm to 0.07mm—let you add drama without weighing down your client’s natural lashes.
And length options? Well, lighter extensions mean you can go longer and really wow them, but don’t forget to check their natural lash strength first!
- Thinner lashes allow fuller, fluffier looks without excess weight
- 0.05mm is a happy medium—more manageable than 0.03mm
- Longer lengths add drama but require careful weight balance
- Always prioritize natural lash health over sheer volume
Mastering Symmetrical Fan Formation
Although “symmetry” might sound like something only math teachers care about, in the world of mega volume lashes, it’s your secret weapon for that wow-worthy, fluffy finish!
When I initially started, my fans looked like wild bouquets—definitely not the look my clients wanted. That’s why mastering fan symmetry techniques like the pinching or rolling method is a total game-changer.
With each fan, you’ll use lash distribution methods to make sure every lash is spaced evenly—think of it like arranging flowers in a vase, but for someone’s eyes!
Invest in high-quality tweezers (trust me, your hands and your sanity will thank you), and check your symmetry as you go.
Practice really does make perfect. With patience, your fans will look effortlessly flawless—your clients will absolutely love it!
Optimal Adhesive Usage for Lasting Retention
Let’s be real—nailing your adhesive game is what separates “wow, those lashes are gorgeous!” from “uh, are those about to fall off?”
When I initially started doing mega volume sets, I was basically in a sticky mess, constantly worrying if my glue was drying too fast or turning into a gloopy disaster.
If you want your mega volume lashes to last (and keep your clients raving), you’ve gotta master adhesive types and watch those fume levels. Choose a glue with a quick 1-second drying time, the perfect viscosity, and low fumes for comfort. Trust me, your clients will thank you!
- Use 4-6 adhesive drops per set, changing every 15-20 minutes
- Monitor room humidity (45-65% is gold!)
- Pick adhesives formulated for mega volume
- Opt for lower fume levels for happier clients
Preparing Natural Lashes for Maximum Bond
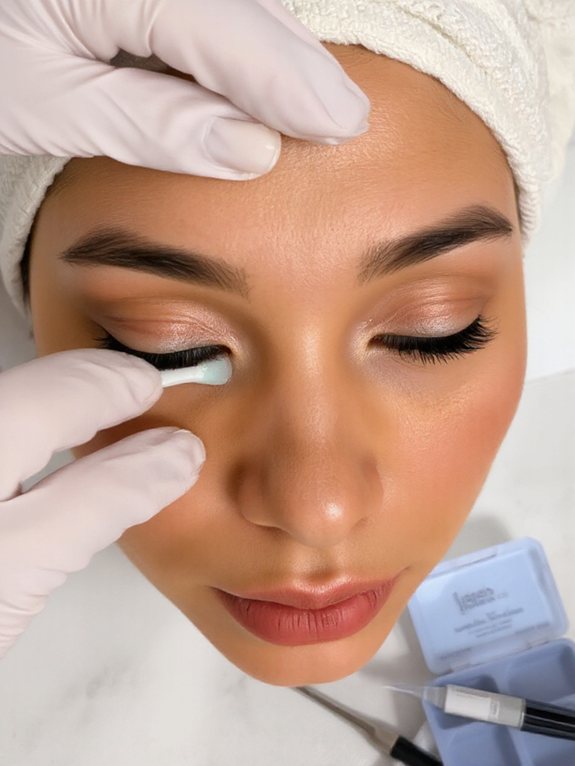
Before you even think about picking up your tweezers or getting your adhesive ready, you’ve gotta make sure your client’s natural lashes are absolutely squeaky clean—trust me, this step makes all the difference!
I’m serious, even the tiniest bit of leftover mascara or oil can wreck your retention. Start with a gentle foaming lash shampoo; massage it in and rinse well—think of it as a mini spa moment for their eyes!
Even the smallest trace of mascara or oil can ruin your retention—always start with a gentle, foaming lash shampoo for perfect prep!
Next, swipe with protein-removing pads. Then, grab an alcohol-based lash cleanser to zap any stubborn oils.
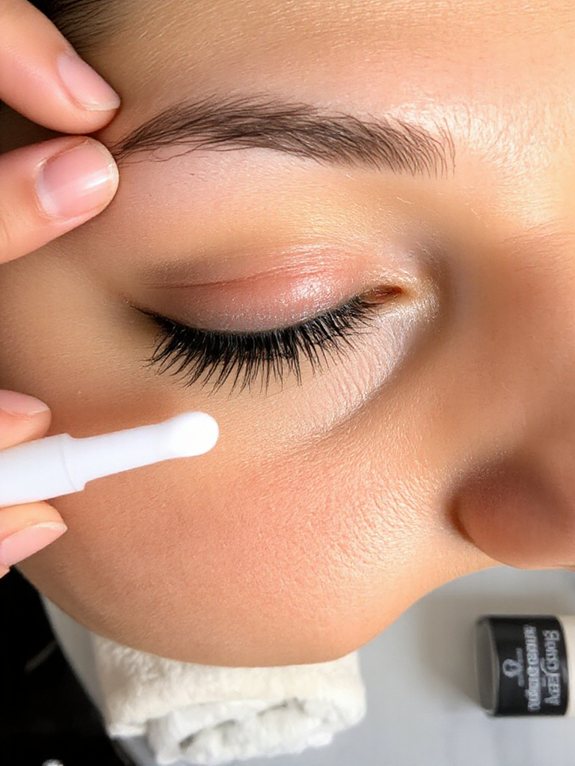
Once those lashes are bone dry (no shortcuts!), use your favorite primer application techniques. Primer lifts the cuticle, banishes excess oil, and gives you that “superglue” bond for mega volume.
Happy prepping—don’t skip this step!
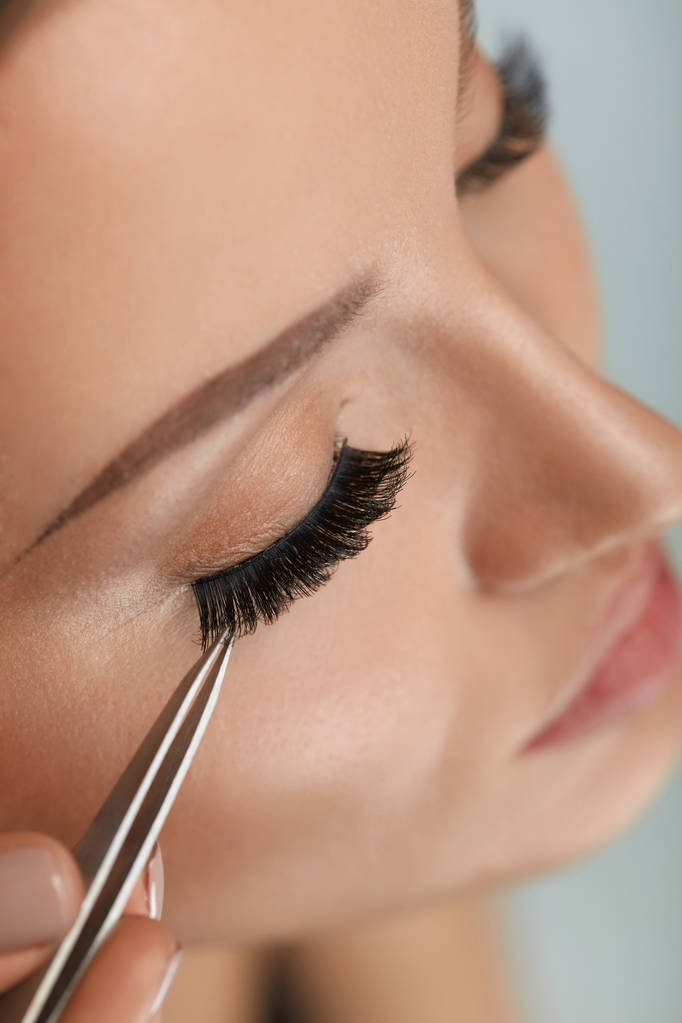
Safe Application Techniques for Healthy Lashes
Once you’ve nailed your lash prep, it’s time for the real magic—actually getting those mega volume fans onto natural lashes without wreaking havoc!
Trust me, I’ve made every rookie mistake in the book (hello, accidental lash clumps), but a little patience and the right technique go a long way.
Start by focusing on lash isolation—it’s the unsung hero of healthy, long-lasting sets. Keep your fan density in check; more isn’t better if it overloads the natural lash.
Choose lightweight, properly sized extensions, and don’t skimp on precision.
Here’s what I swear by:
- Always isolate each natural lash before applying a fan.
- Use tools (or tape) to avoid lashes sticking together.
- Balance fan density with lash strength.
- Stick to industry weight standards—your client’s lashes will thank you!
Controlling Humidity for Consistent Results
Even if you’ve mastered every fan technique out there, humidity can sneak in and mess with your lash game faster than you can say “mega volume meltdown.” Trust me, I learned the hard way—my initial summer in a tiny, steamy studio ended with more pop-off lashes than I’d like to admit (and a few frantic calls to my lash bestie). The humidity impact on lash glue is no joke! You’ll want to use monitoring tools like a trusty hygrometer to keep that sweet spot between 45-60%. Too humid? Grab a dehumidifier or toss in some moist absorbers. Too dry? A humidifier works wonders.
| Humidity Level | Glue Curing Time | Recommended Tool |
|---|---|---|
| Too High | Too Fast | Dehumidifier |
| Too Low | Too Slow | Humidifier |
| Just Right | Perfect | Hygrometer |
| Fluctuating | Unpredictable | Moist Absorber |
Troubleshooting Common Mega Volume Issues
Humidity might be under control, but let’s be real—mega volume lashing has plenty of other curveballs waiting to smack you right in the tweezers.
I’ve been there: fans close, clients squirm, and suddenly, your confidence wobbles. The trick? Focus on your fan separation techniques and lash weight considerations.
If you’re seeing clumped fans or irritated clients, you’re probably using too much adhesive or not isolating lashes well enough. Trust me, less is more!
- Use just enough adhesive so your fans stay fluffy and light—no glue blobs, please.
- Isolate every single natural lash before attaching a fan (yes, every one!).
- Match the fan size and weight to your client’s natural lash strength.
- Practice fan separation techniques for clean, even results every single time.
You’ve got this!
Essential Client Aftercare Recommendations
Although you might think the hard part’s over after your mega volume lash fill, the real magic happens with your at-home aftercare—and trust me, I’ve seen what happens when clients skip this step (spoiler alert: it’s not pretty).
Right after your appointment, your post fill care is essential: keep those beauties dry for 24–48 hours, skip the sauna, and don’t even think about crying over a sad movie!
After your lash fill, keep them dry for 24–48 hours—no steamy showers, saunas, or tearjerker movies allowed!
Oil-based products? Big no-no—they’ll make your lashes fall out faster than I do when I try hot yoga.
For daily maintenance, use a gentle lash shampoo, brush with a clean spoolie, and avoid rubbing or tugging.
Schedule regular fills, and always communicate with your lash tech about any issues.
Trust me—your clients (and your lashes) will thank you!
Preventing Damage and Promoting Lash Health
In relation to mega volume lashes, let me tell you—keeping your natural lashes healthy is *everything*!
If you want your clients to love their look (and come back for more), you’ve gotta protect their lash health and enhance extension longevity.
I’ve seen too many “lash disasters” from ignoring the basics, so let’s keep it simple and smart:
- Always isolate each natural lash before applying a fan, to avoid clumping and stress.
- Use lightweight extensions (think 0.03mm!), especially for finer lashes.
- Avoid gluing fans to baby or weak lashes—let them grow strong!
- Keep adhesive use minimal and precise; less is more for happy lashes.
Trust me, when you focus on these steps, you’ll help everyone look fabulous and feel cared for!
Conclusion
So, if you wanna master mega volume lashes without losing your mind—or your clients—just remember these tips! I’ve glued my fair share of fingers together (don’t ask), but with the right fan-making skills, lash prep, and a dash of patience, your sets will look flawless and last for a long time. Seriously, you’ve got this! Give yourself grace, practice those fans, and don’t forget to laugh when you drop a tweezer (again). Your clients—and their lashes—will thank you!