You’ll love these trigger point massage techniques that really work! Start with gentle finger pressure on tender spots (hold 30 seconds), then try tennis ball self-massage for those tricky areas. Coordinate your breathing with pressure application, and don’t forget the figure-eight technique for stubborn shoulder knots. From thumb walking to foam rolling, these methods will have you feeling like a new person. Let’s investigate each technique to reveal your body’s natural healing potential.
Key Takeaways
- Apply firm but gentle pressure with your fingertips on tender spots for 20-30 seconds while maintaining steady breathing.
- Use a tennis ball against a wall or floor to target hard-to-reach trigger points for 2-4 minutes per spot.
- Perform figure-eight movements with your thumb or fingers to release stubborn knots in shoulder muscles.
- Combine pressure application with slow stretching while coordinating deep breaths for enhanced muscle relief.
- Implement cross-fiber friction techniques at 90-degree angles to break up muscle adhesions and promote circulation.
The Basic Manual Trigger Point Release Method
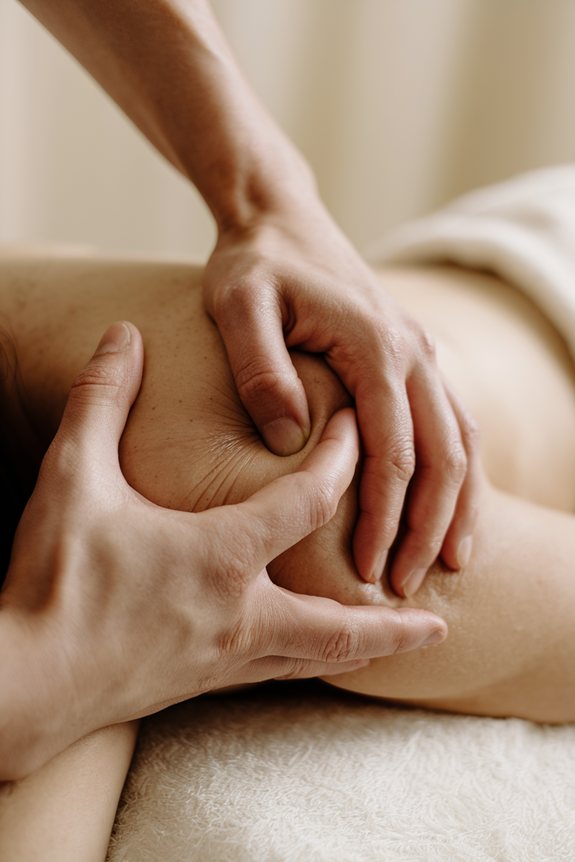
Regarding releasing those pesky trigger points – you know, those tight knots that make you wince when touched – the basic manual method is your go-to solution!
Understanding trigger point anatomy is key to getting results that’ll make a real difference.
Start by gently exploring the affected area with your fingertips, feeling for those telltale tender spots.
Once you’ve found one, apply steady pressure for 20-30 seconds – not too hard though! Think firm but friendly.
Combine this with slow stretching movements, and you’ll be amazed at how effectively you can manage muscle tension.
Remember to breathe and take it slow – there’s no rush to become a trigger point warrior!
Tennis Ball Self-Massage for Hard-to-Reach Areas
Now that you’ve got the manual technique down, let’s investigate my favorite budget-friendly massage tool – the humble tennis ball!
These self massage benefits are incredible, and I’ve found tennis ball techniques to be perfect for those tricky spots you just can’t reach on your own.
You’ll want to trap the ball between your body and a firm surface – the floor works great for back and hips, while a wall’s perfect for shoulders and calves.
Hold gentle pressure for 2-4 minutes in each spot, and don’t forget to breathe!
For feet, simply roll under your arch while sitting.
Trust me, your muscles will thank you later!
Deep Breathing and Pressure Point Synchronization
While applying pressure to trigger points can feel intense, combining it with deep breathing transforms the experience into something truly magical! By coordinating your breath with pressure application, you’ll activate natural pain modulation pathways that make the process much more comfortable.
| Breathing Phase | What You’ll Do |
|---|---|
| Inhale | Prepare point |
| Exhale | Apply pressure |
| Inhale | Hold steady |
| Exhale | Release gently |
Use this breath coordination technique to reduce stress hormones and improve blood flow. Trust me, your muscles will thank you! Remember, breathing deeply from your belly helps quiet your nervous system, making the entire experience more effective and enjoyable. It’s like giving your body a mini-vacation while working out those knots!
The Figure-Eight Technique for Shoulder Knots
Deep breathing has set the stage for our next amazing technique – the figure-eight method that’ll revolutionize how you tackle those stubborn shoulder knots!
By applying gentle pressure in flowing figure eight variations, you’ll target multiple trigger points while boosting blood flow to those tense areas.
Here’s the magic: use your fingers or a tennis ball to create smooth, continuous figure-eight patterns across your shoulder muscles.
This dynamic movement improves shoulder mobility and breaks up those pesky knots! For best results, maintain steady pressure for 20-30 seconds in each spot.
And don’t worry if you’re not perfect at the beginning – I definitely wasn’t! Just keep practicing, and those knots won’t stand a chance.
Thumb Walking for Targeted Relief
Learning thumb walking changed my massage game forever – I can’t believe I used to rely on random finger pressing before uncovering this amazing technique!
Let me show you how to do it properly. Start by using your body weight (not thumb muscles!) to press and slide along the foot’s surface, just like a caterpillar inching along.
Use your whole body weight, not just thumb strength, as you smoothly glide across the foot like a gentle caterpillar.
You’ll want to alternate thumbs while working those reflexology points, especially between the tendons and along the arch.
Here’s a pro tip: practice on an avocado initially to perfect your pressure – trust me, your clients’ feet will thank you later!
The key is maintaining steady, moderate pressure without overdoing it.
Cross-Fiber Friction Massage Method
Three key principles make cross-fiber friction massage distinctly effective – and I learned them all the hard way through years of trial and error!
When you’re working those stubborn trigger points, proper cross fiber alignment and friction intensity make all the difference. Trust me, I’ve fumbled through enough sessions to know what works!
- Feel for those ropey tissue bands beneath your fingertips
- Apply steady pressure at a 90-degree angle (no wimpy strokes!)
- Move slowly across the fibers, like you’re ironing out wrinkles
- Listen to your client’s feedback – they’ll tell you when it’s right
- Maintain consistent pressure until you feel the tissue release
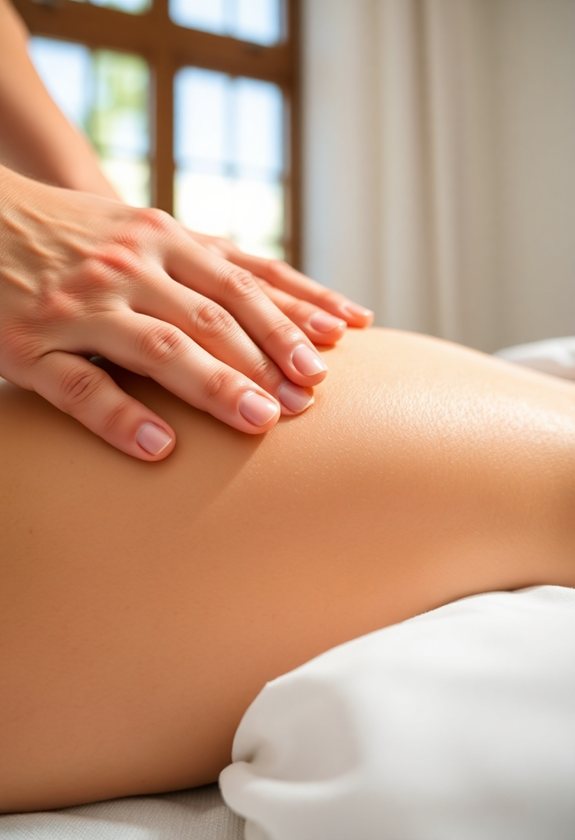
The Hold-and-Release Pressure Technique
While cross-fiber friction gets those knots out horizontally, I’ve found the hold-and-release technique to be a game-changer for vertical pressure – and boy, did my clients notice the difference!
The key is finding that sweet spot of pressure intensity, about a 6 out of 10 on the “ouch” scale. You’ll want to hold steady pressure for 20-90 seconds, depending on how stubborn that knot is.
The benefits are incredible – increased blood flow, waste removal, and muscle relaxation. I’ve seen even the toughest trigger points melt away when you pair this technique with deep, mindful breathing!
Foam Rolling Patterns for Large Muscle Groups
Mastering the right foam rolling patterns can revolutionize your large muscle group recovery – trust me, I learned this the hard way after countless sessions of aimless rolling!
Let me share the foam roller benefits I’ve uncovered for helping your clients achieve ideal muscle recovery.
- Feel the sweet relief as you roll quads horizontally while face-down
- Experience deep release rolling hamstrings from knee to hip (my personal favorite!)
- Target those stubborn calves with toes pointed
- Show your IT band some love with side-lying rolls
- Transform tight hip flexors with gentle prone rolling
Micro-Stripping With Gradual Pressure
Before diving into advanced trigger point work, let me introduce you to micro-stripping – it’s honestly been a game-changer in my massage practice!
The key to mastering this technique lies in those small, precise strokes you’ll make with supported thumb contact (I like to call it the thumb-over-thumb dance!).
You’ll want to gradually increase pressure while moving across the muscle fibers – but here’s the trick – keep your thumbs planted on the skin instead of sliding around.
Apply pressure for 4-8 seconds, repeat 3-6 times, and watch those knots melt away! Trust me, your clients will love how this targets those stubborn trigger points without overwhelming discomfort.
The Circuit Method: Combining Multiple Techniques
Since uncovering the circuit method in my practice, I’ve become a huge fan of combining multiple trigger point techniques – it’s like having a whole toolbox instead of just one hammer!
The beauty of circuit integration lies in its versatility. You’ll love how technique combination creates a powerful healing flow that optimizes results.
Here’s what makes it so effective:
- Spray-and-stretch to ease initial discomfort (game-changer!)
- Sustained pressure points that melt tension away
- Dynamic stretching for improved flexibility
- Ischemic compression to reduce referred pain
- Pin-and-stretch for improved fluid exchange
Frequently Asked Questions
How Long Should I Wait Between Trigger Point Massage Sessions?
Start with daily sessions for ideal pain management, spacing them 6-8 hours apart. You’ll want to adjust your session frequency based on how your body responds and recovers.
Can Trigger Point Massage Make Chronic Pain Conditions Worse?
You’ll risk aggravating your chronic pain if you apply too much massage intensity. Start gently and work with a professional who understands your condition’s specific needs and limitations.
Are There Specific Trigger Point Techniques Safe During Pregnancy?
You’ll need to limit trigger point work during pregnancy to upper body areas only, avoiding high-risk zones. Focus on gentle pressure to shoulders and neck with specialized prenatal massage training.
What Medications Should Be Avoided Before Trigger Point Therapy?
You’ll need to stop blood thinners, pain medications, and muscle relaxants before therapy. Avoid aspirin, NSAIDs, and anticoagulants at least 3-7 days before your session to prevent bleeding risks.
Can Children Receive Trigger Point Massage Therapy?
You can safely give children trigger point massage when performed by qualified professionals. While it offers children’s benefits like pain relief, watch for safety concerns by using gentle pressure and proper techniques.
Conclusion
You’ve now got a complete toolkit of trigger point techniques to tackle those stubborn knots! Whether you’re using a tennis ball against the wall (my personal favorite for those hard-to-reach spots) or practicing the hold-and-release method, keep in mind that consistency is key. Don’t forget to breathe through the process – your muscles will thank you later. Now go forth and show those trigger points who’s boss!